Oracle Goldengate
Oracle GoldenGate 23AI Silent installation and Configuration for Oracle 19C Database on Linux 8
prayank waluskar
Introduction:
Oracle GoldenGate is a software product that allows you to replicate, filter, and transform data from one database to another database.
Enterprise data is typically distributed across the enterprise in heterogeneous databases. To get data between different data sources, you can use Oracle GoldenGate to load, distribute, and filter transactions within your enterprise in real-time and enable migrations between different databases in near zero-downtime.
Prerequisites:
Before starting, ensure the following:
- Two machines with OS Linux 7 (64-bit)
- Minimum 4 GB RAM (recommended)
- At least 10 GB free disk space
- Oracle Database 19c installed and running on source and target database
- Both source and target database have ARCHIVELOG mode ON.
Environment Details:
| Attributes |
Machine 1 |
Machine 2 |
|
Server Name |
ggmachine01 |
ggmachine02 |
|
OS Version |
Oracle Linux Server 8.8 |
Oracle Linux Server 8.8 |
|
Database Version |
Oracle Database 19c |
Oracle Database 19c |
|
GoldenGate Version | Oracle GoldenGate 23.4 | Oracle GoldenGate 23.4 |
Software download options:
We can download the Goldengate software from any of the below two links :-
- http://www.oracle.com/technetwork/middleware/goldengate/downloads/index.html
- https://edelivery.oracle.com
Binary Installation:
Unzip the downloaded software zip file.
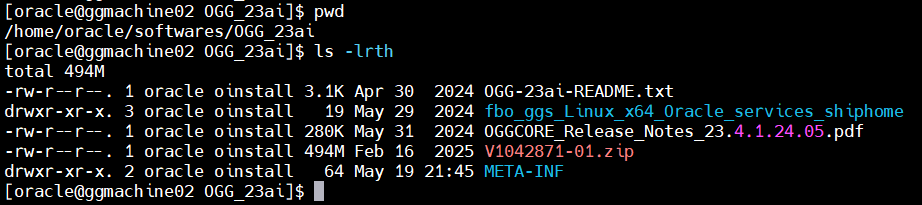
Update the oggcore.rsp file:
For Silent installation, we need to have the response file ready with the environment information. Below are the details which needs to be filled in the oggcore.rsp file for binary installation.
INSTALL_OPTION=ora23ai
SOFTWARE_LOCATION=/data/app/OGG/ogg_ma
INVENTORY_LOCATION=/data/app/oraInventory
UNIX_GROUP_NAME=oinstall
Code language: JavaScript (javascript)
Perform silent installation:
Once the responsefile is updated and ready we will run the below command
./runInstaller –silent –responsefile response/oggcore.rsp
Once the installation is done successfully, it will give the information that installation is successful and we can tail the log from the given location to get more details during installation.
To verify the installation, we will go to the goldengate home bin directory.

Service and Deployment Configuration:
service manager and deployment creation using silent installation:
setup the response file for below parameters in oggca.rsp.
CONFIGURATION_OPTION=ADD
DEPLOYMENT_NAME=Deploy_1
ADMINISTRATOR_USER=ogg_admin
ADMINISTRATOR_PASSWORD=
DEPLOYMENT_ADMINISTRATOR_USER=ogg_admin
DEPLOYMENT_ADMINISTRATOR_PASSWORD=
SERVICEMANAGER_DEPLOYMENT_HOME=/data/app/OGG/ogg_sm
HOST_SERVICEMANAGER=192.168.56.102
PORT_SERVICEMANAGER=8820
CREATE_NEW_SERVICEMANAGER=true
REGISTER_SERVICEMANAGER_AS_A_SERVICE=true
ENABLE_SERVICE_MANAGER_REMOTE_METRICS=true
SERVICE_MANAGER_REMOTE_METRICS_LISTENING_HOST=192.168.56.102
SERVICE_MANAGER_REMOTE_METRICS_LISTENING_PORT=8850
OGG_SOFTWARE_HOME=/data/app/OGG/ogg_ma
OGG_DEPLOYMENT_HOME=/data/app/OGG/ogg_deploy
ENV_TNS_ADMIN=/data/app/oracle/product/19C/dbhome_3/network/admin
ADMINISTRATION_SERVER_ENABLED=true
PORT_ADMINSRVR=8821
DISTRIBUTION_SERVER_ENABLED=true
PORT_DISTSRVR=8822
RECEIVER_SERVER_ENABLED=true
PORT_RCVRSRVR=8823
METRICS_SERVER_ENABLED=true
PORT_PMSRVR=8824
ENABLE_DEPLOYMENT_REMOTE_METRICS=true
DEPLOYMENT_REMOTE_METRICS_LISTENING_HOST=192.168.56.102
DEPLOYMENT_REMOTE_METRICS_LISTENING_PORT=8852
OGG_SCHEMA=GG_TEST
Code language: JavaScript (javascript)
Once, the response file is configured run the oggca.sh available in bin folder at binary installed location
./oggca.sh -silent -responseFile /home/oracle/oggca.rsp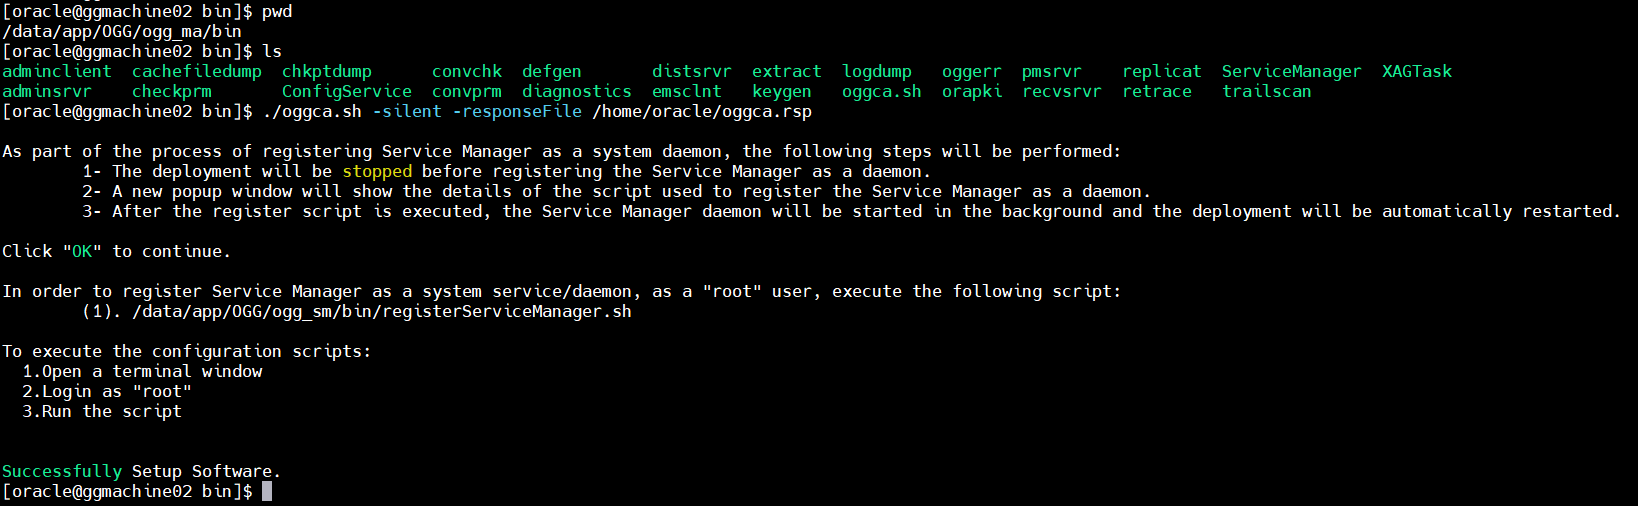
As instructed in the command output we need to run the “/data/app/OGG/ogg_sm/bin/registerServiceManager.sh” as root user to complete the configuration.

Now, to check the ServiceManager is running or not we can grep the process as follows

Verification:
To verify the installation, we will login to the Service Manager by going to the ip address and port number entered during the setup.
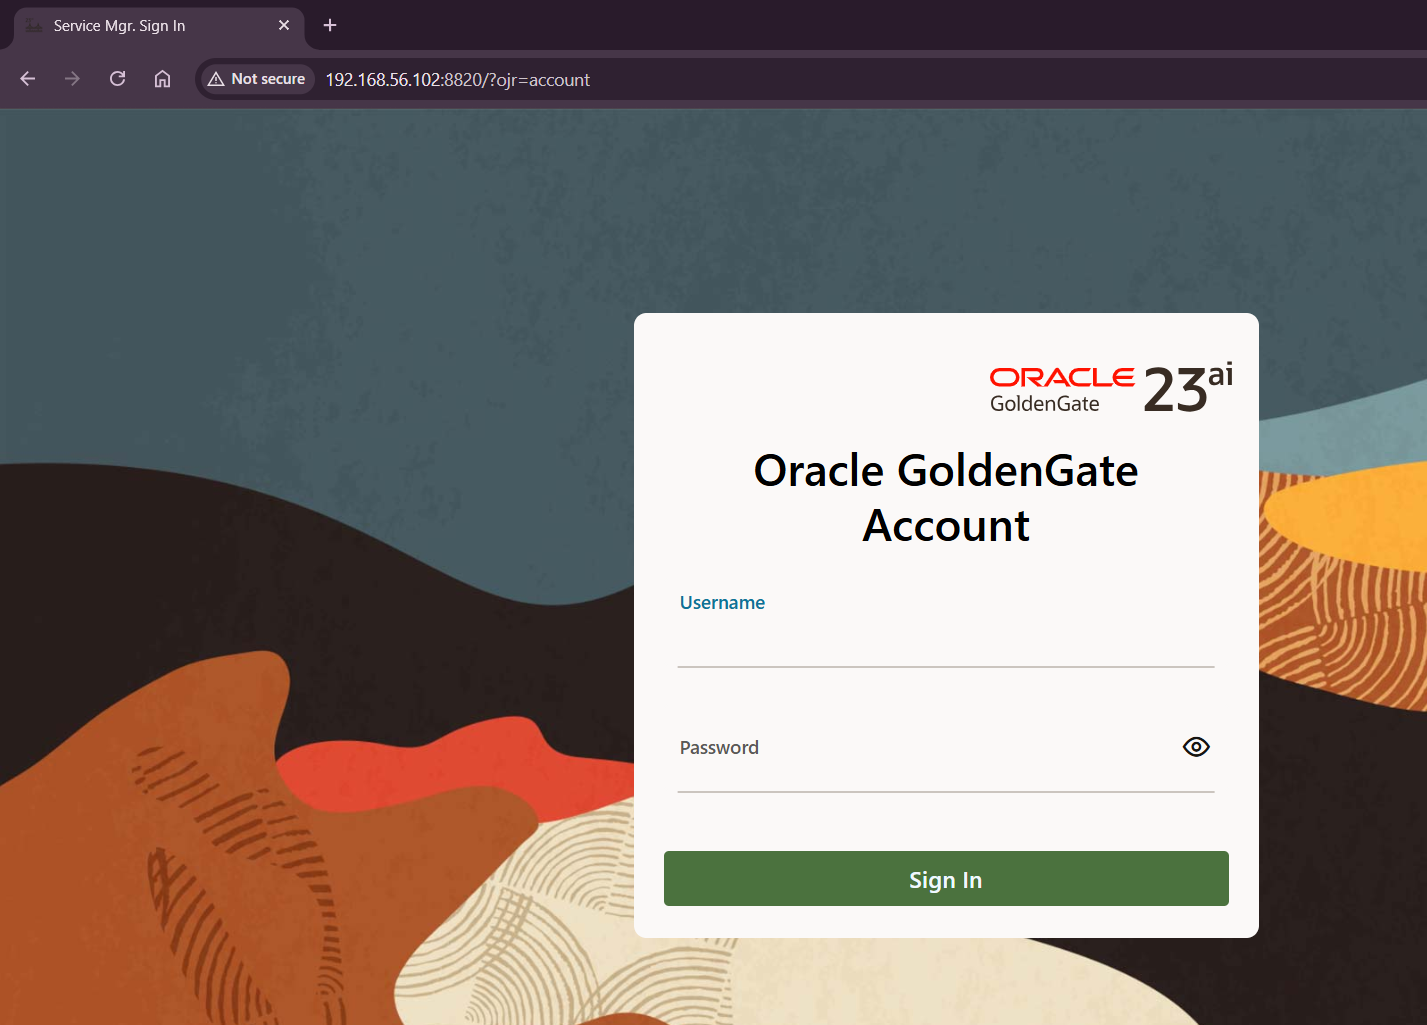
It has asked for the login credentials. After entering the credentials provided during the setup, we will successfully login and get the below ServiceManager dashboard page

Now, we will check the Deployment configuration, click on the Deploy_1 in above screen and it will take us to the Deployment page

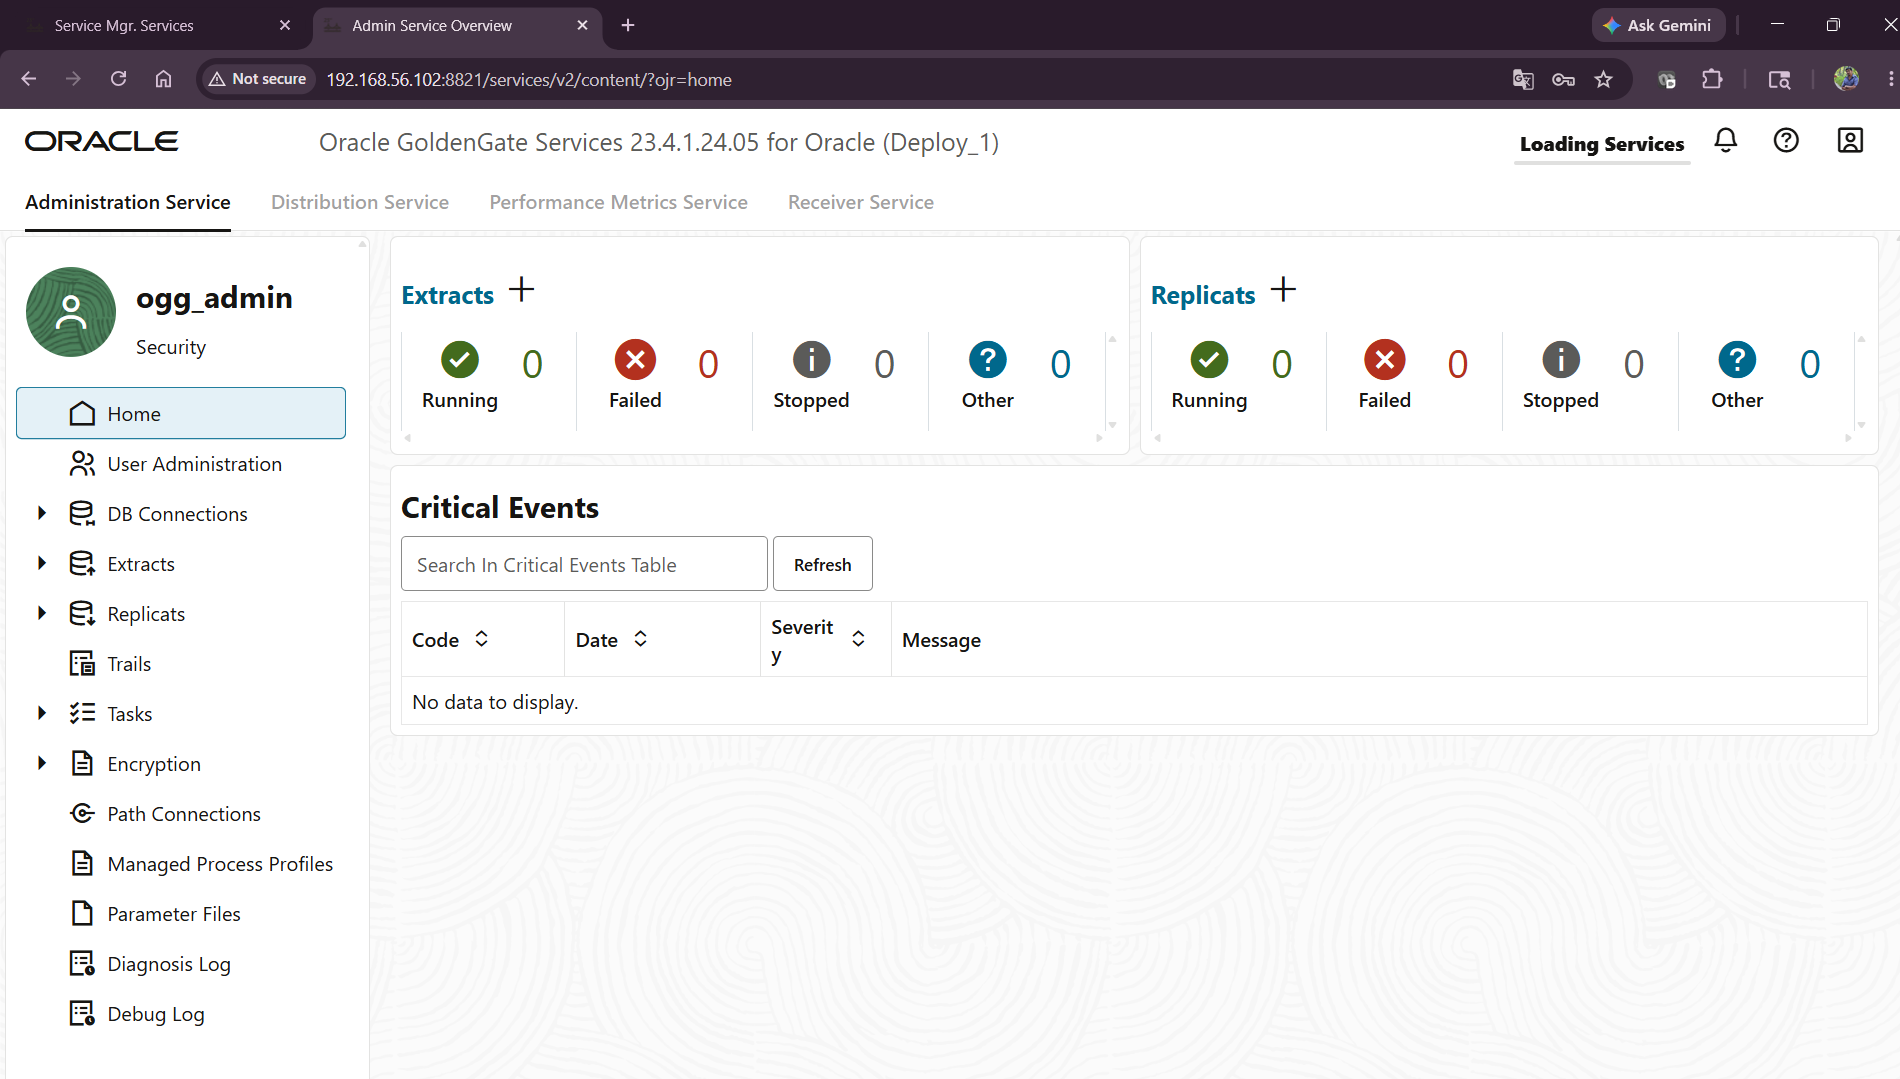
Here we can click on any service to get the details and status of that service. To check the extract and replicat status and details we click on Administration service
To confirm that we are routed to correct service page, we can check the port number in the URL. Also, it is asking for the credentials, during the setup we did provide the same credentials as of ServiceManager. Hence, we will enter the same credentials to continue to Administration service page.
With this testing, we have successfully Installed and configured Goldengate 23AI for Oracle 19C database on Oracle Linux 8 using silent installation.