multitenant
Multitenant Database Creation with Oracle 19C
prayank waluskar
Introduction to Multitenant Database
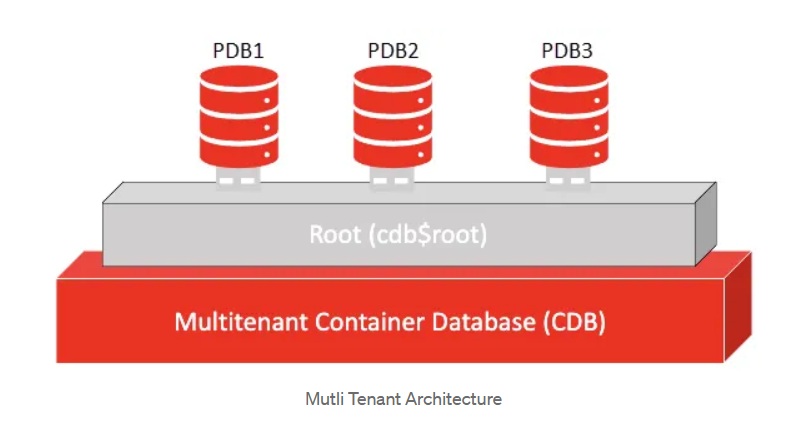
In a Multitenant architecture, traditional standalone backend databases are transformed into pluggable databases (PDBs). These PDBs are grouped together within a single Multitenant container database, offering a range of advantages.
One major benefit is the reduction of duplicated overhead. Instead of each database maintaining its own background processes and memory structures, the container database manages a single shared set for all PDBs. As a result, system resources are used more effectively, lowering resource consumption and improving overall performance.
In addition, the Multitenant model frees up more computing power for application workloads by removing unnecessary duplication. This makes it possible to support multiple applications on the same database server, improving scalability and maximizing resource utilization.
Another important advantage is compatibility with existing systems. Applications originally built using the traditional database architecture can operate in the Multitenant environment without modification. This allows experienced Oracle DBAs to continue using their existing expertise and make full use of their current Oracle Database applications.
Steps to create Multitenant Database
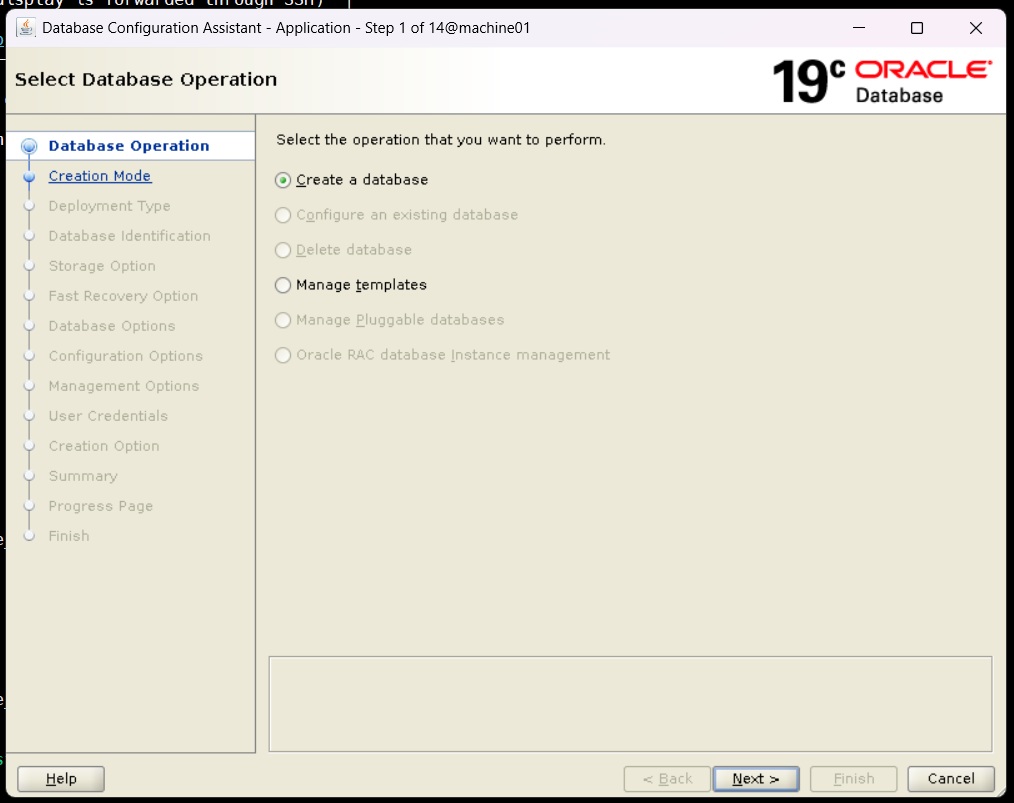
Select “create database” as database operation
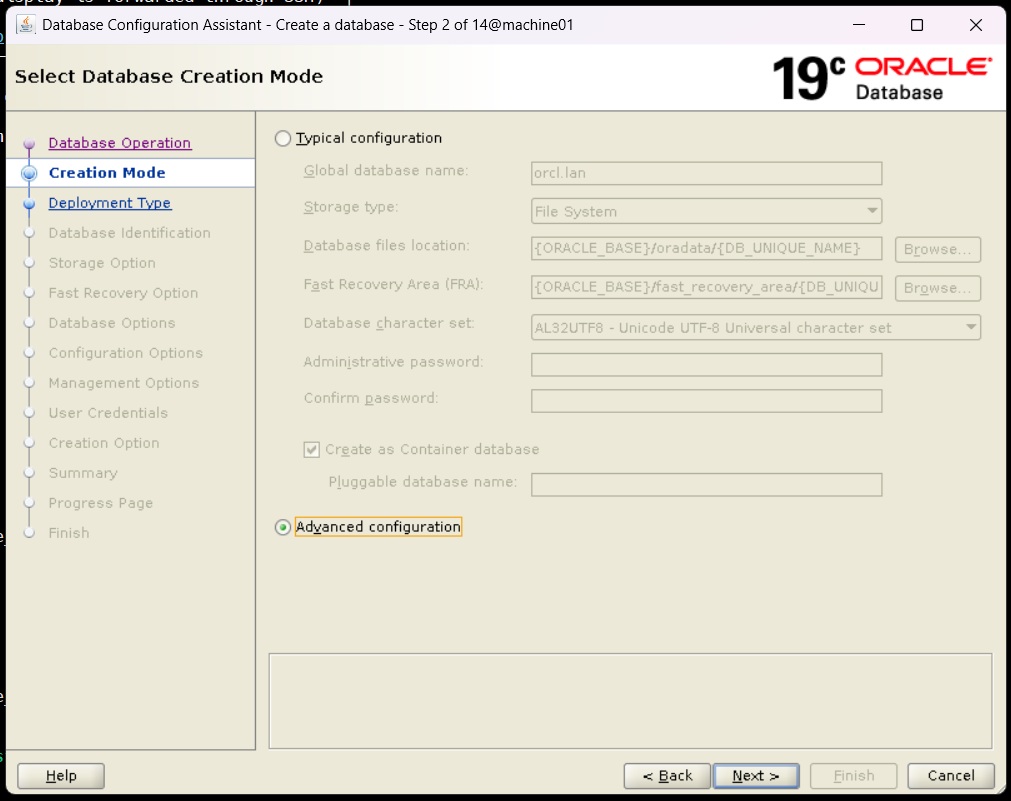
Select “Advanced Configuration” as creation mode
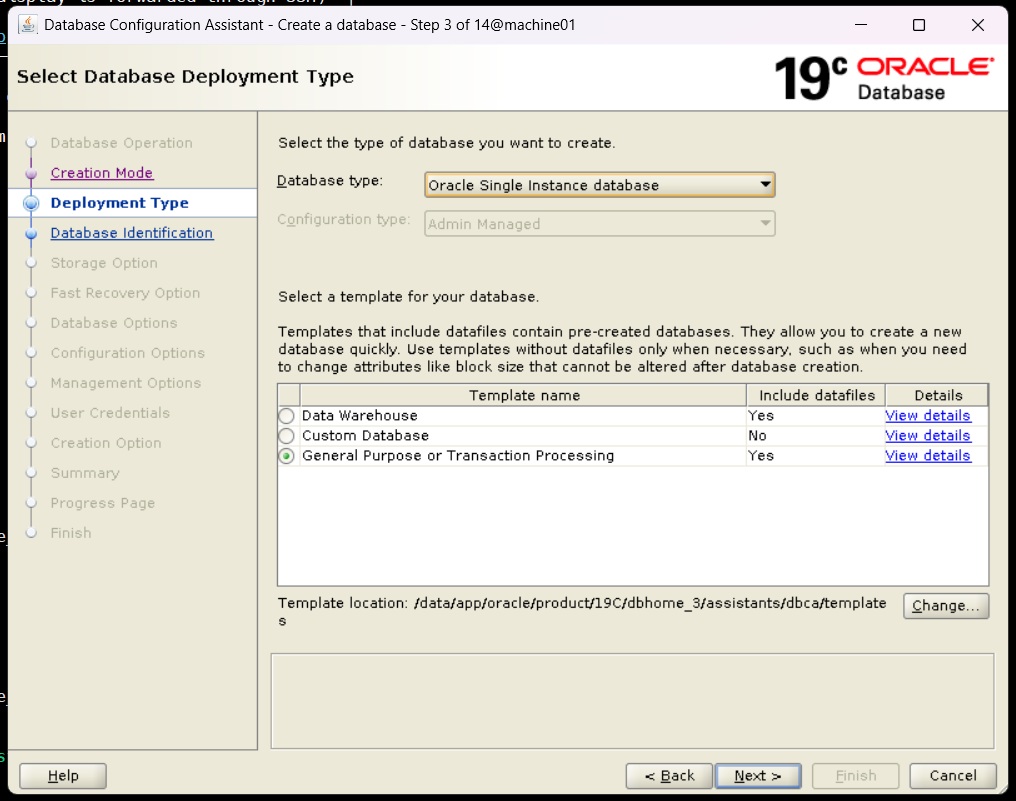
Select “Oracle Single instance database” as database type and “General Purpose” template
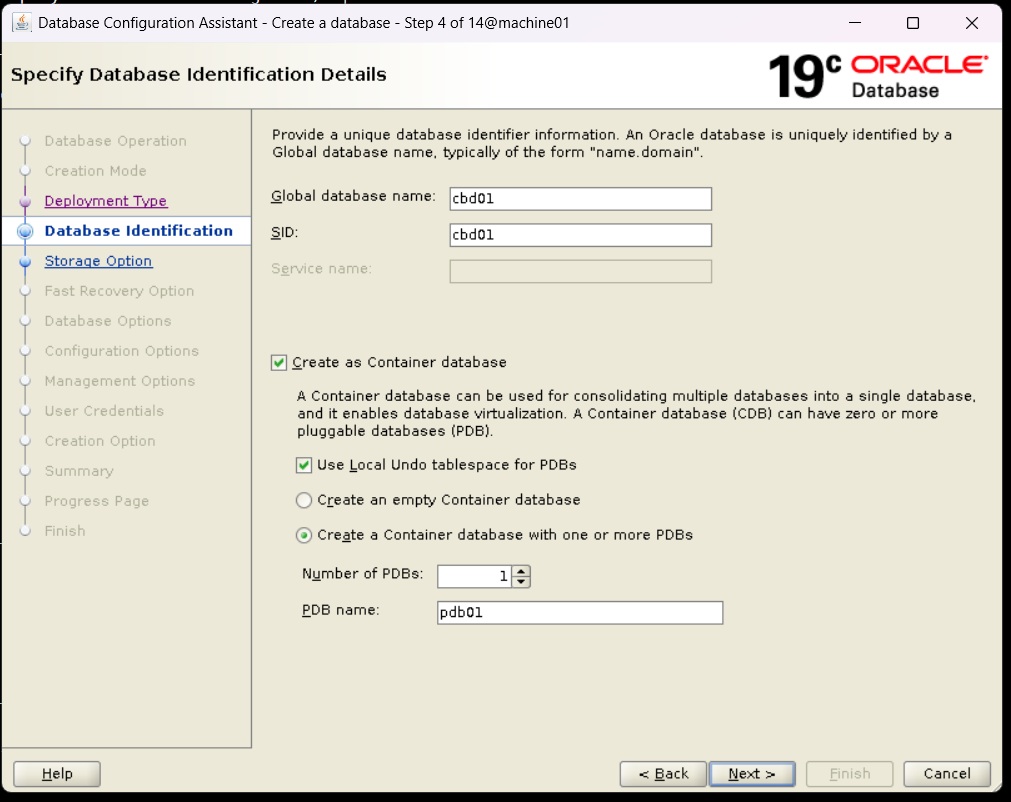
Enter the database name and select the “Create as Container database” check box. Then, enter the pluggable database count and enter PDB name.
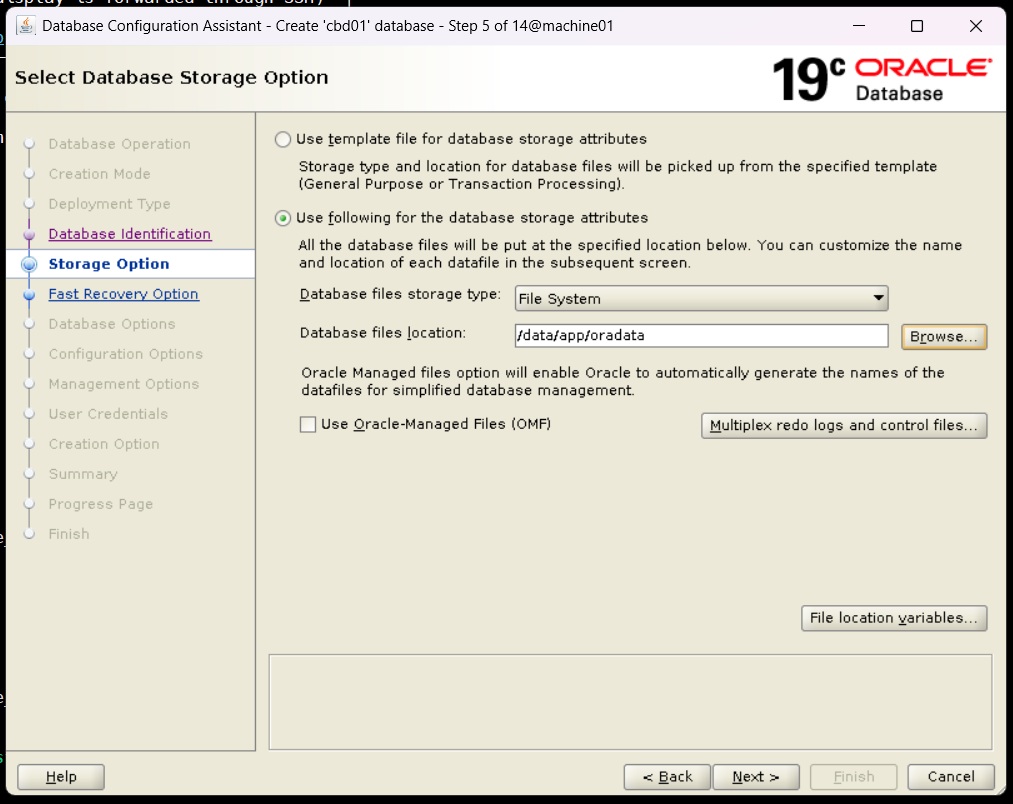
Enter the Storage details
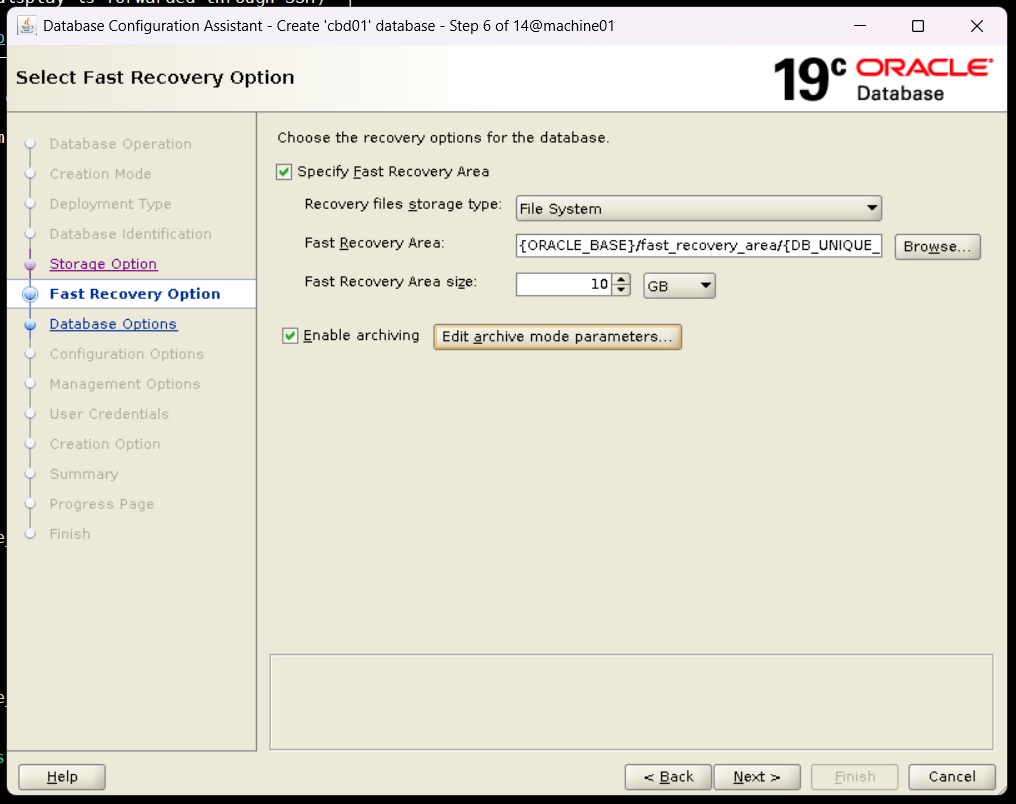
Enter the FRA details and enable Archiving if needed
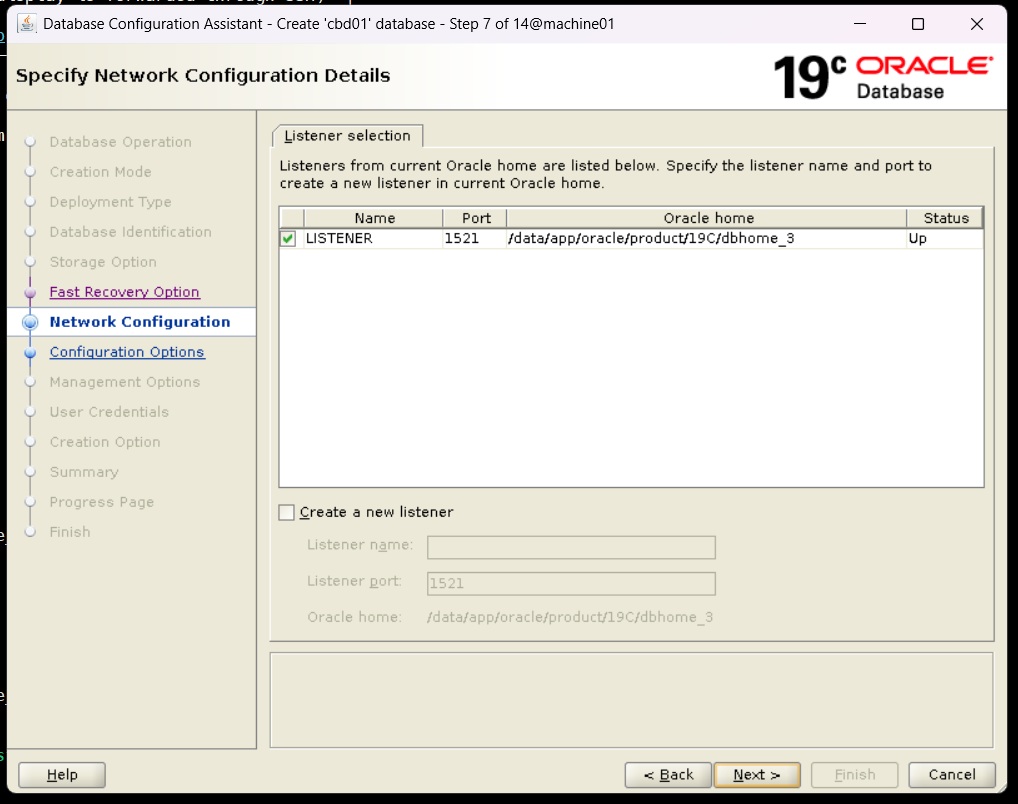
Here, we have selected the existing Listener, if needed we can select the option to create a new listener
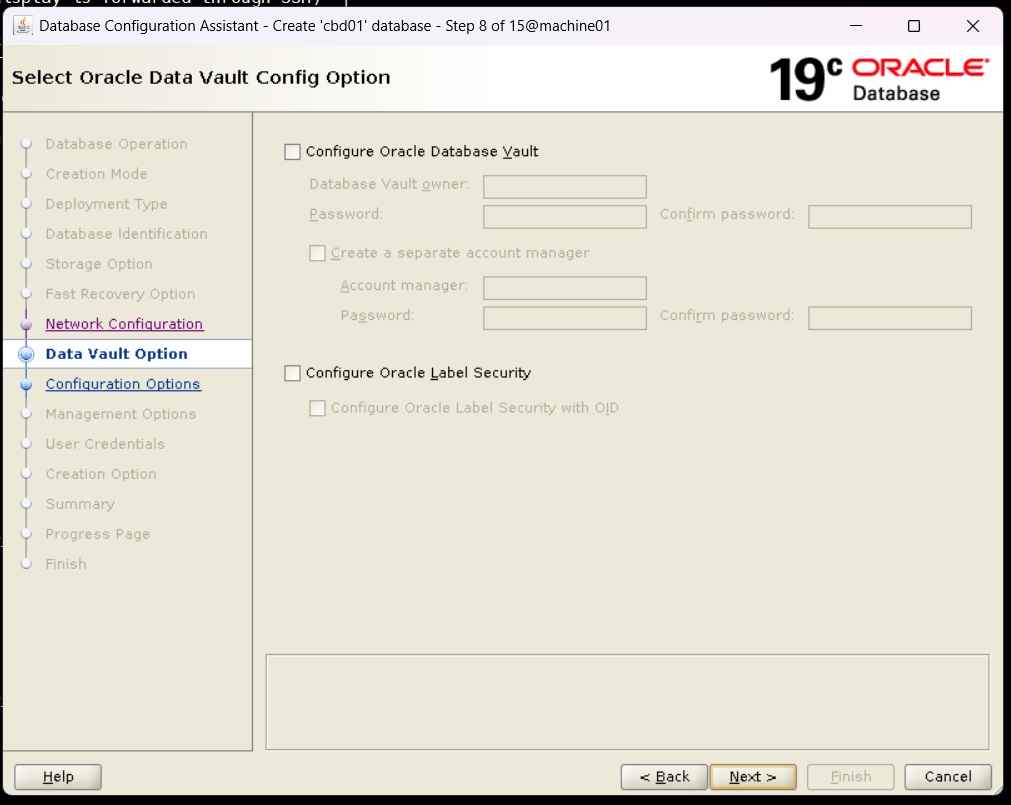
We don’t want to have the database vault, hence moving ahead without selecting anything on this page
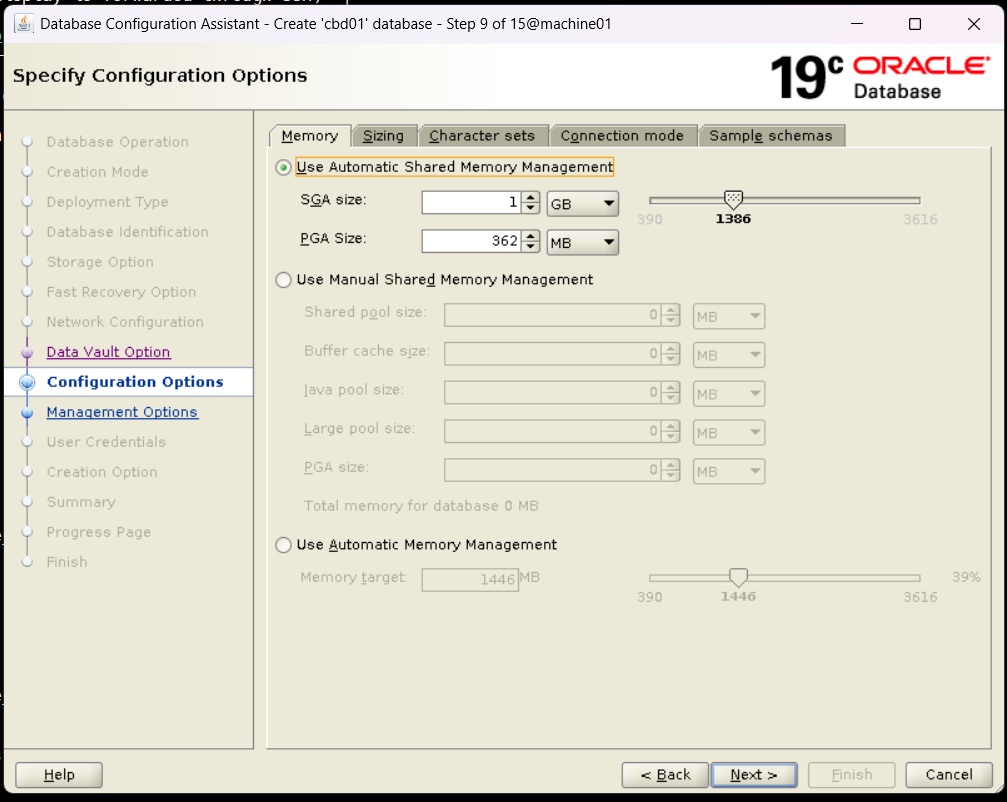
Select Automatic Shared Memory Management(ASMM) and give SGA and PGA size
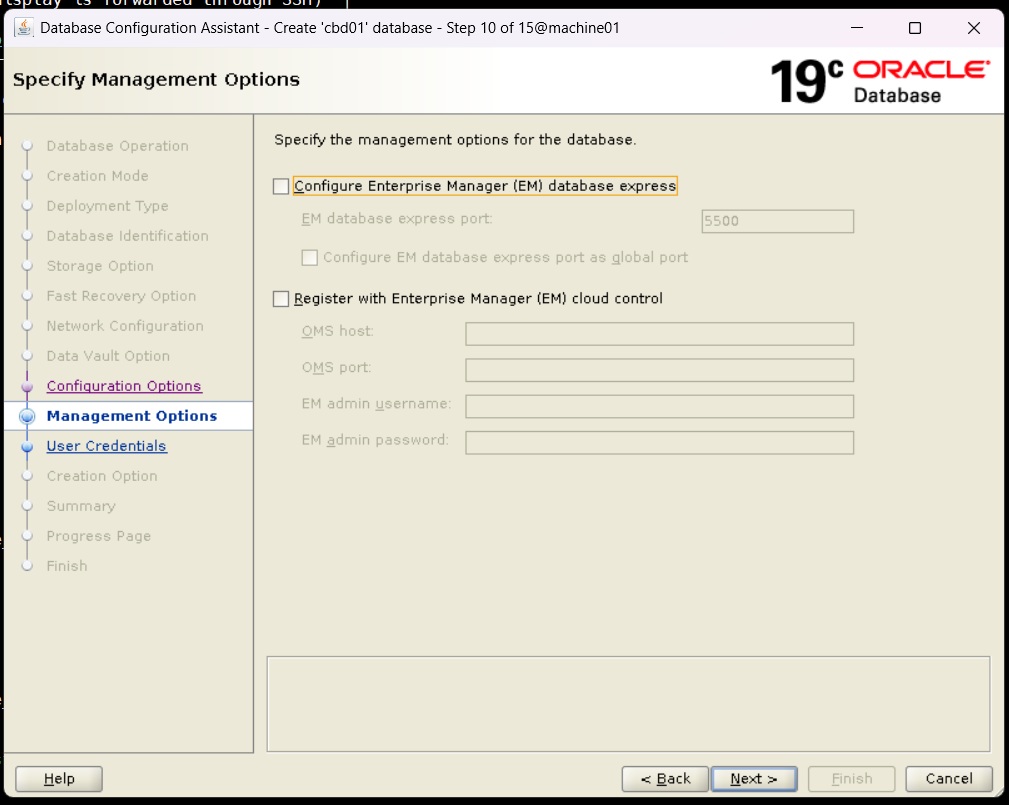
We do not have OEM, hence moving ahead without selecting anything on this page
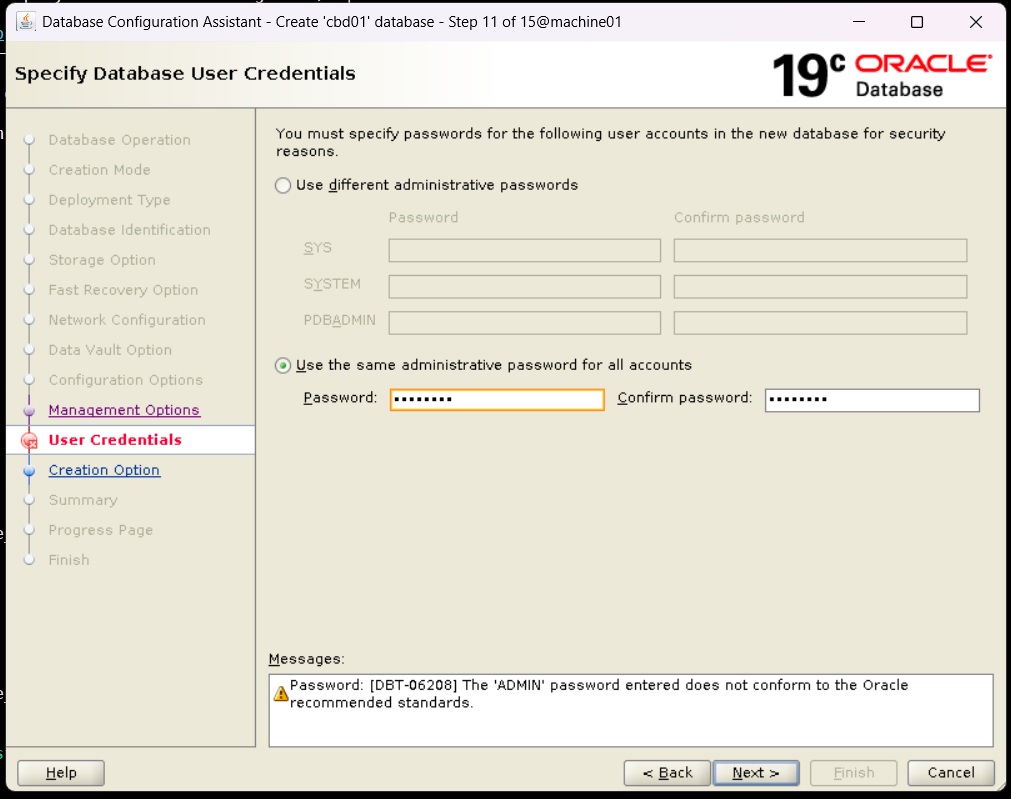
Enter SYS/SYSTEM user credentials and move ahead
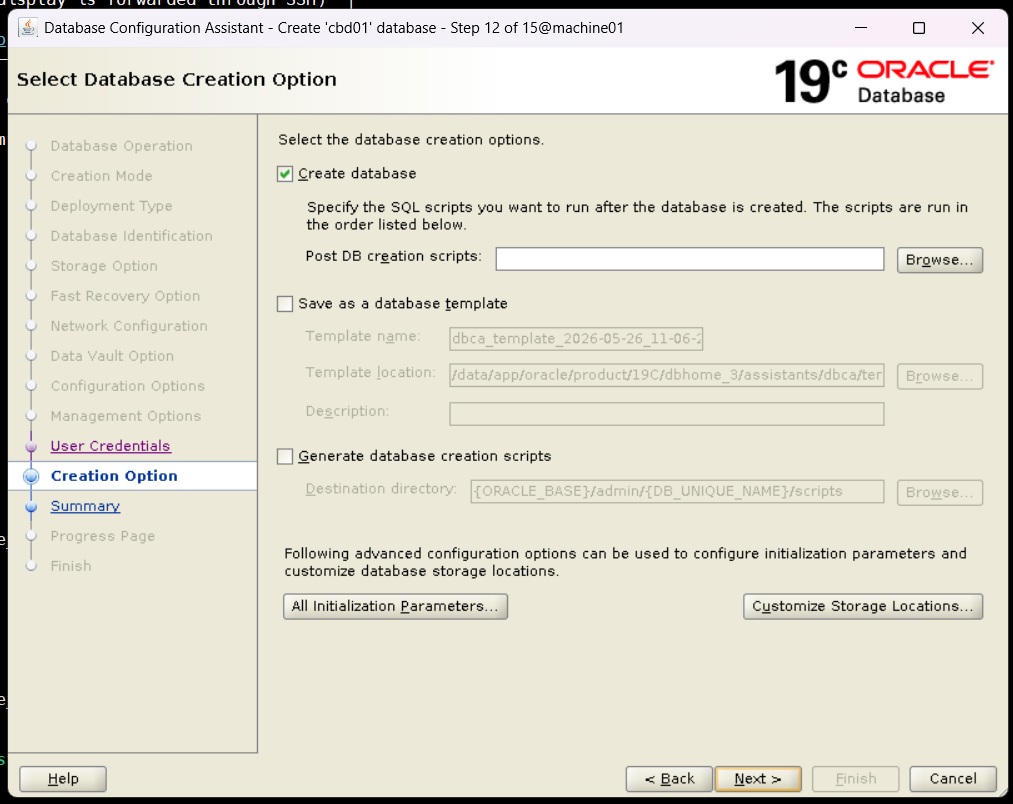
“Create database” is default selected, we move ahead without selecting anything else on this page
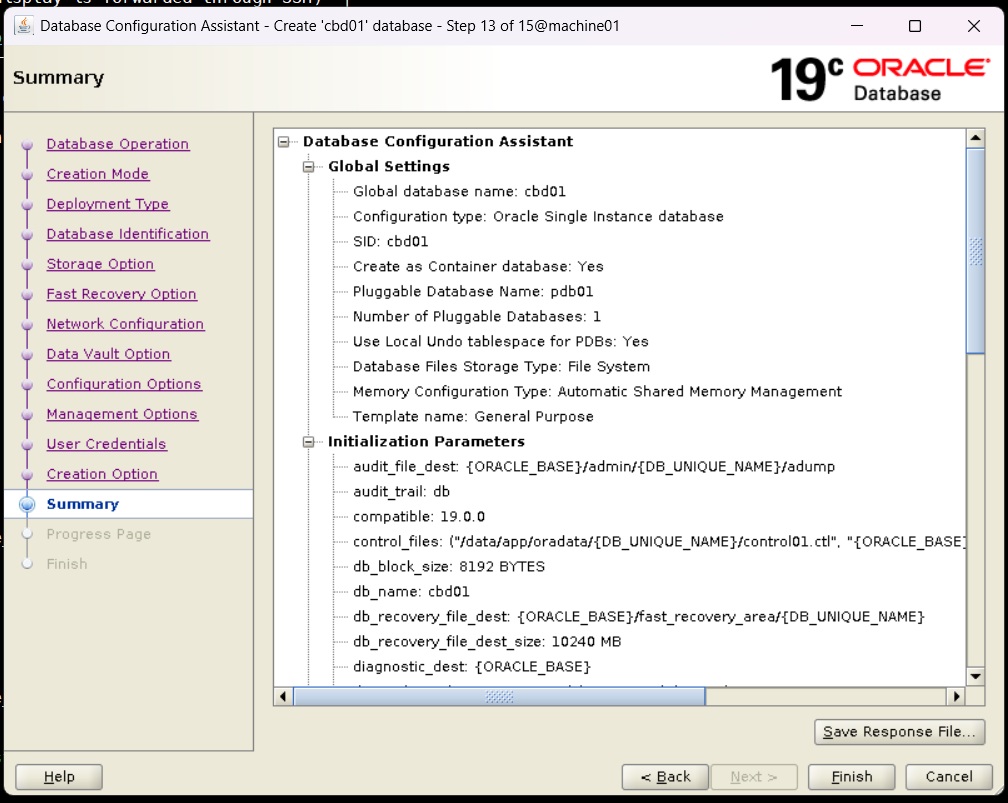
Here, we can see all the configuration details we entered in previous pages as single response file. We can save the file by clicking on the button if needed
After clicking on finish button we can see the system processing to create the database
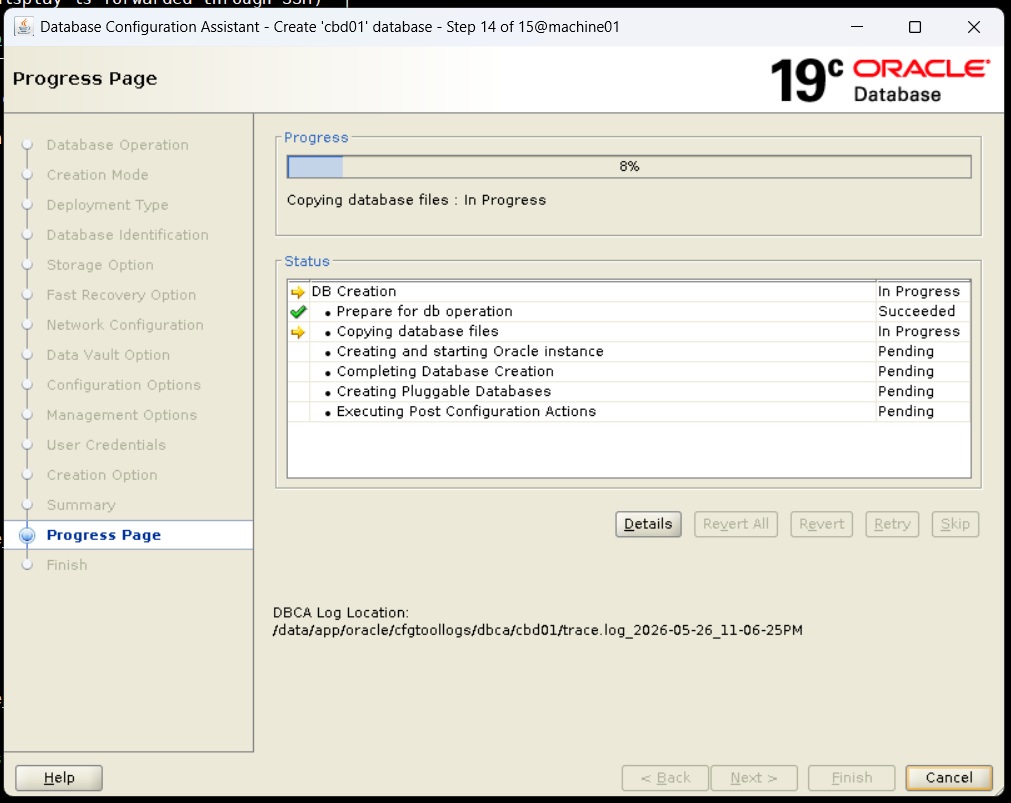
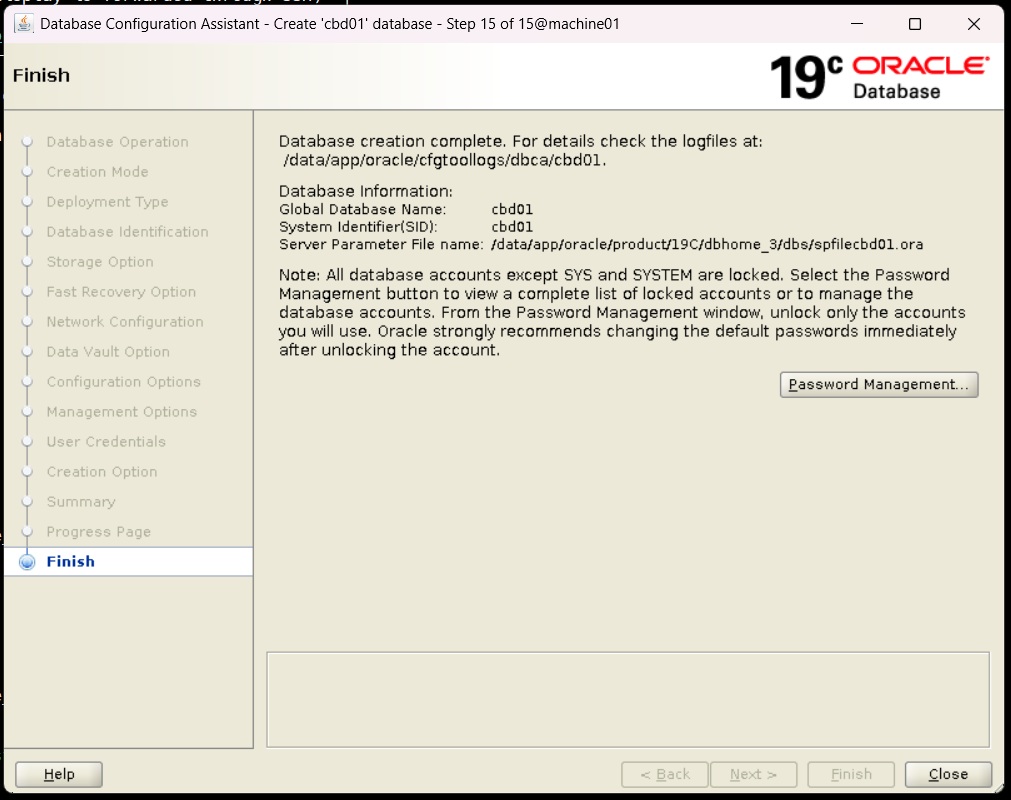
Once, the database creation completed, we will see below screen. Click “close” button to finish the task.
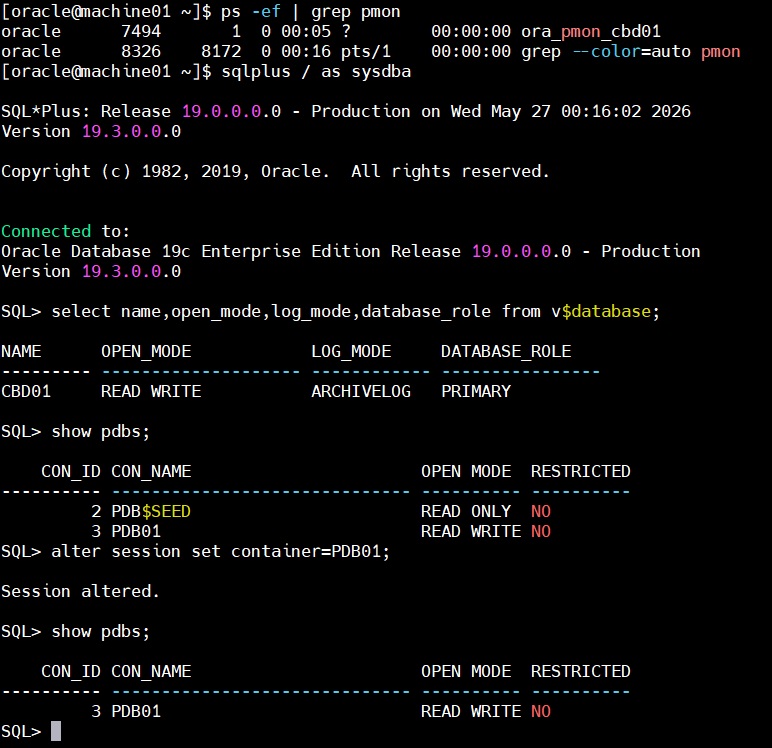
Connect the container and pluggable database